
How To Attach Keystone Jack To Wall Plate
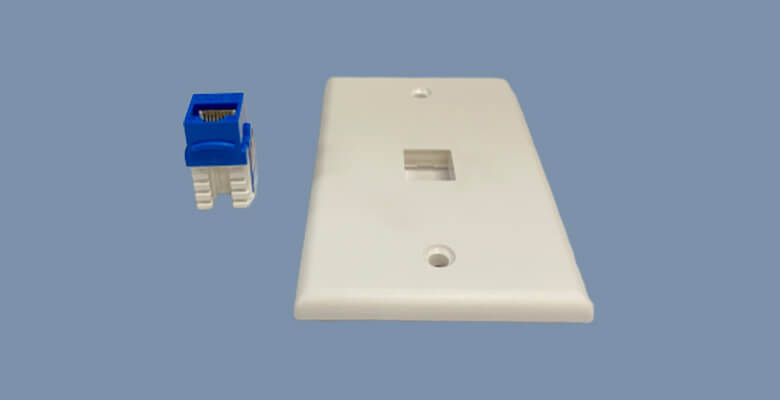
Table of Contents
Intro
Connecting a Keystone to a wall plate can be completed in just a couple quick steps. This is one of the final touches on any home or business network. Maybe your adding a connection to each bedroom or redoing an office connecting wall plates are a great tool for adding ethernet paths. In this DIY blog we will cover how to attach a keystone jack to a wall plate and how to remove a keystone jack from wall plate.
Items Needed:
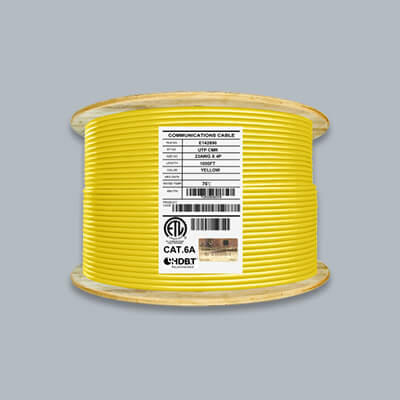
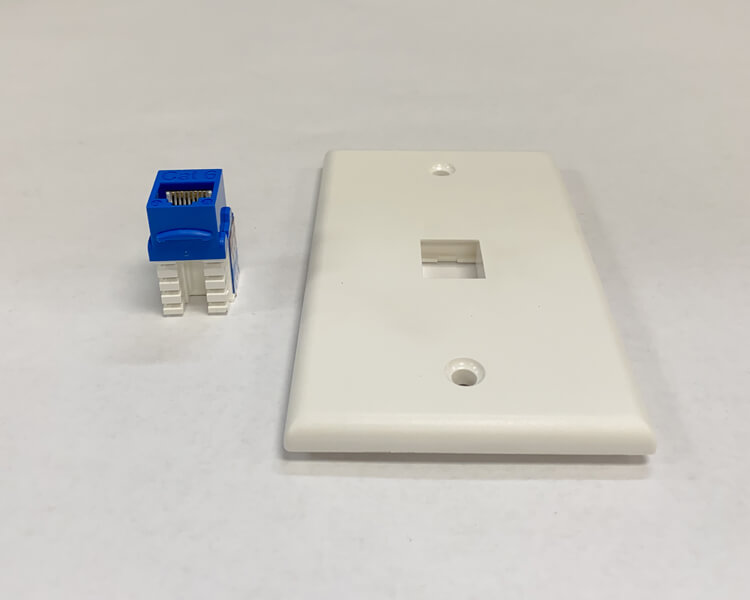
- Keystone jack: Choose a keystone jack that is compatible with the category of your cable and type. Get unshielded jacks for unshielded cable and shielded jacks for shielded cable. It is ok to use shielded jacks with unshielded cable.
- Wall plate: Choose the port size depending on how many connections you want to make per outlet.
Ready to grab tools? Shop our selection of keystone jacks and wall plates to complete your network.
How To Attach Keystone Jack To Wall Plate?
1. Grab your Keystone and Wall Plate
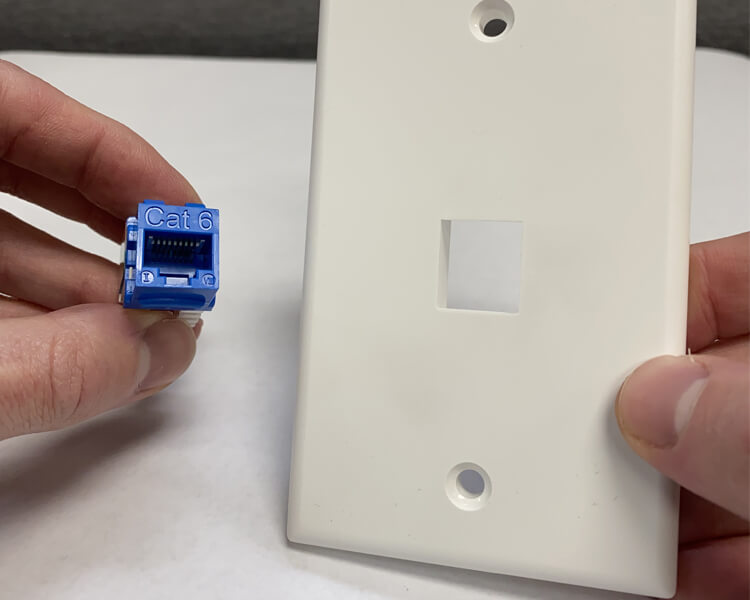
Grab your keystone jacks and wall plates that you will be installing. For this example we will be using an un terminated keystone jack, which means it has no cable attached to it right now. Connecting your cables through the wall and on to the keystone jack first is the easiest way to complete this task. Then attach the keystone jack to the wall plate and once completed attach to the wall.
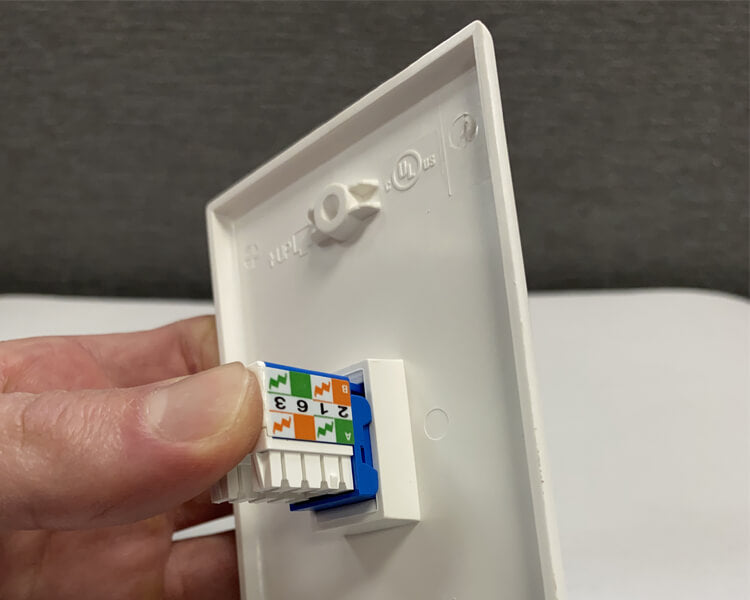
2. Use The Bottom of Keystone Jack
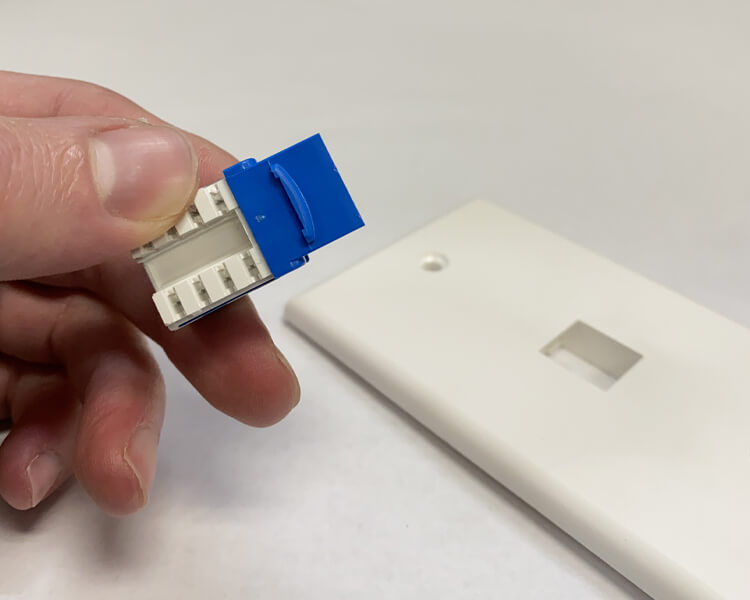
Look for the edge sticking out of the bottom of the keystone jack. You will be using this part to clip on to the wall plate first.
4. Put Bottom of Keystone Jack In First
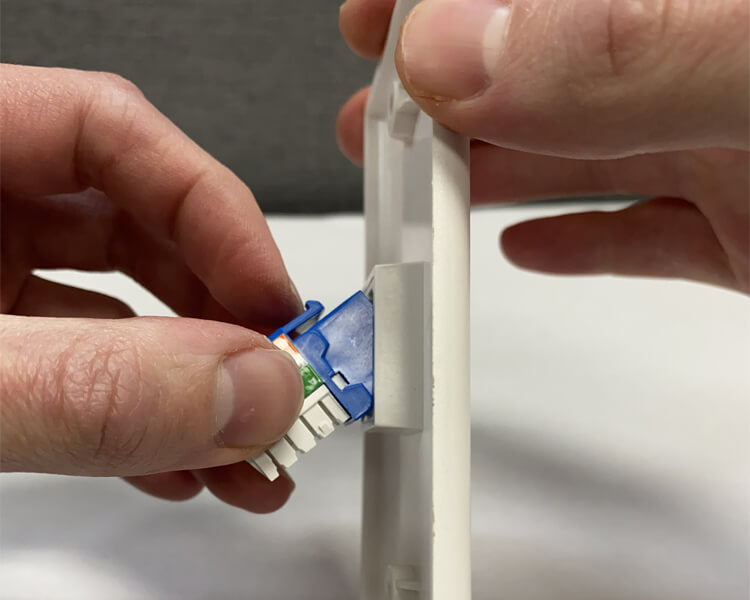
Make sure that the wall plate is in Up position. Wall plate should have an arrow for you to see. If not The lip with a little opening on the top if the top. Ensure that the groove sticking out of keystone jack is over the back side lip of wall plate. This will make it so the jack can snap in to wall plate.
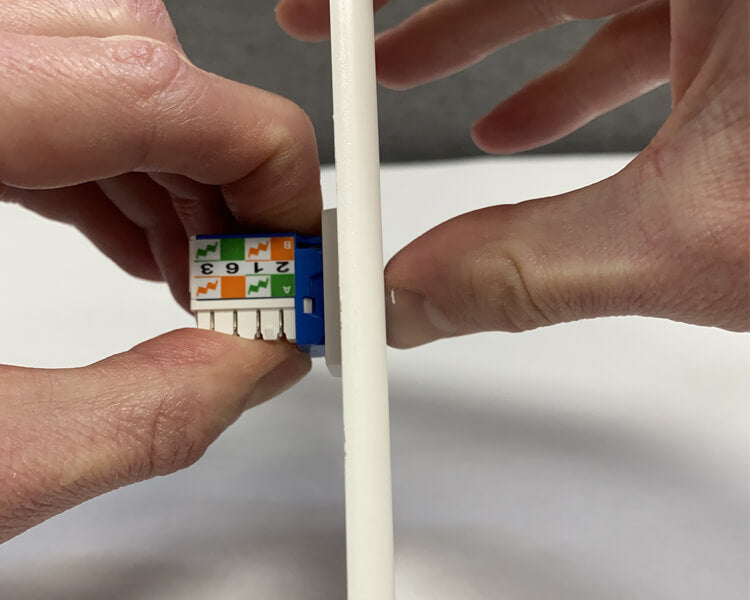
5. Press Down on Top Clip Of Keystone Jack
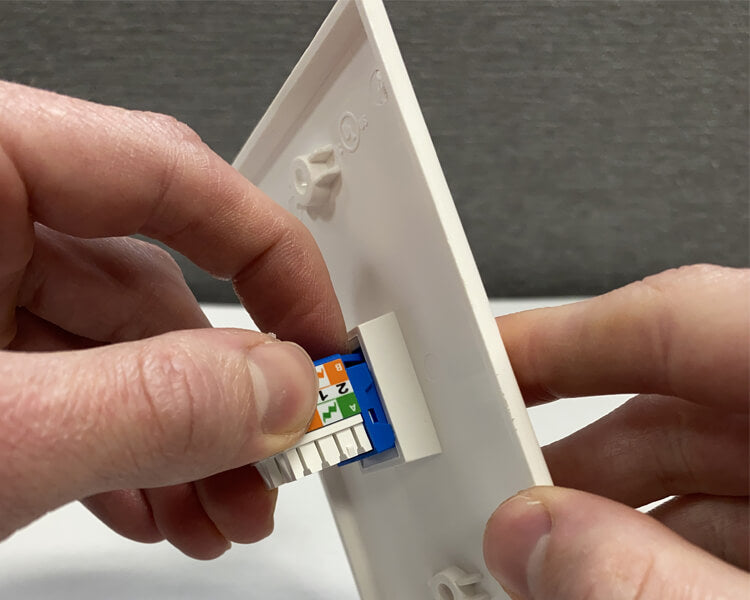
Pressing down on the top portion so it can be placed in to the wall plate
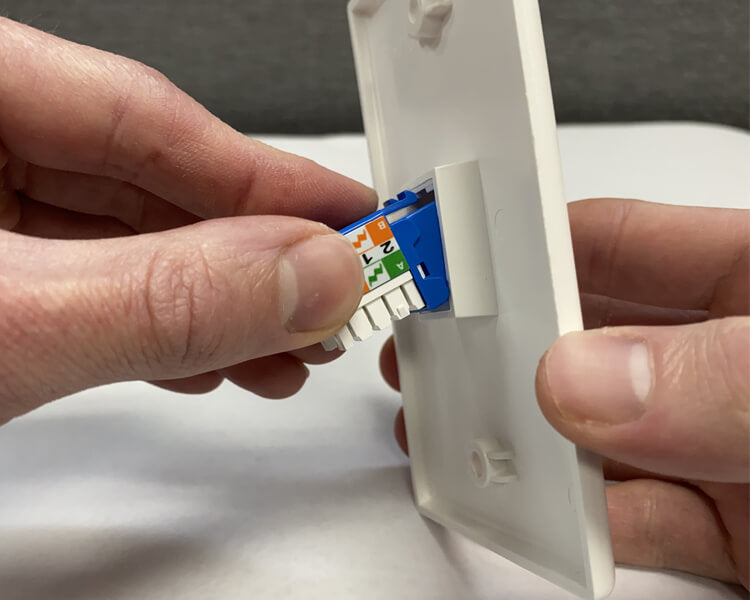
6. Push In To Place Keystone Jack
Push hard enough on the keystone jack so you feel a snap of the jack in to the wall plate. This will ensure a tight fit and prevent it from falling out.
7. Check Front For Smooth Finish
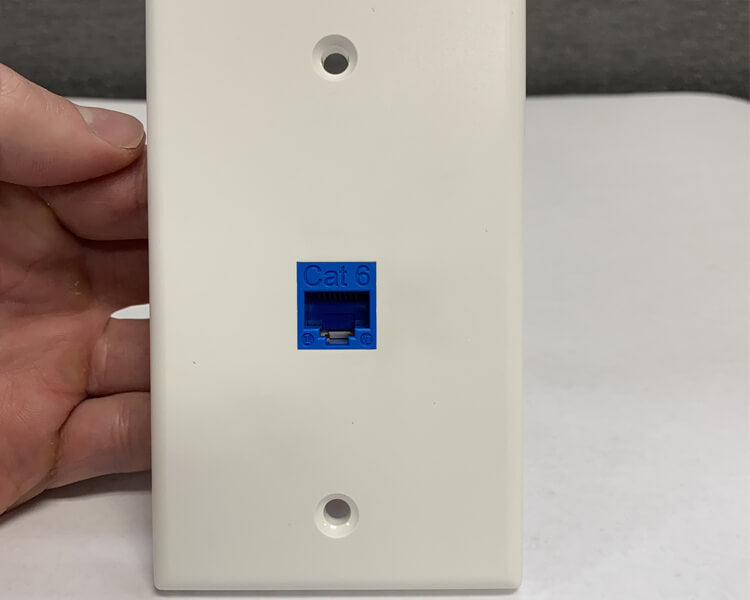
After snapping in to place the keystone jack should fit snug with no spaces. If you have your cable already connected then you are ready to install on the wall outlet with the screws included.
How To Remove Keystone Jack From Wall Plate?
1. Handle the Wall plate and Keystone So You Can Push From Both Sides
Press on the top clip of the keystone jack so it can be removed and at the same times put your other thumb on to the front of the keystone jack.
2. Press Down and Push
While pressing down on the top clip of keystone jack push from the front of the wall plate to give it more force. The keystone jack should then pop out of the wall plate.
3. Ready For Another
Time to make some connections! Keystone jacks in to wall plates are some of the best ways to create ethernet connections in bedrooms, living rooms and offices. They give you the ability to hard wire your devices for a smoother and more enjoyable networking experience.
Tips From The Experts
When installing on the wall have it so the keystone jacks copper RJ45 pins are upwards. This keeps the dirt and other grime off the connectors. Following the steps above with the Category on top will ensure that the RJ45 pins are on top.
Get the items you need to complete your network.