
Terminate Cat6 Riser Cable with EZ RJ45 Plugs

Learn how to terminate Cat6 riser cable effortlessly with EZ-RJ45 plugs. Whether you're a seasoned pro or just starting out, we've got you covered. Let's dive in:
What You'll Need:
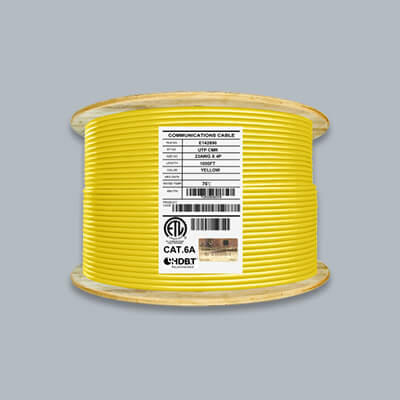
- Cat6 riser cable
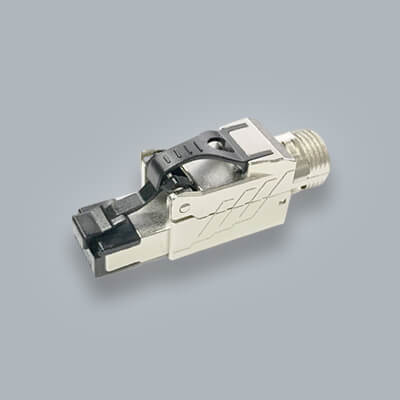
- EZ-RJ45 plugs
- Cable cutter/stripper
- Crimping tool
- Marker (optional for labeling)
Step 1: Prepare the Cable
Before you start terminating the Cat6 riser cable, it's essential to prepare it properly for termination. Follow these detailed steps to ensure a smooth process:
-
Measure and Cut: Begin by measuring the Cat6 riser cable to your desired length. It's always a good practice to leave some extra length for adjustments. Once measured, carefully cut the cable using a cable cutter to avoid damaging the inner wires.
-
Strip the Jacket: Using a cable cutter/stripper, carefully strip off the outer jacket of the cable. Make sure to strip it to an appropriate length, about 1 -1.5" leaving enough space for the wires to go into the plug. Be cautious not to damage the inner twisted pairs while stripping the jacket.
-
Identify the Spline (If Applicable): If you're working with a Cat6 riser cable that includes a spline (Part #: TUR2404N70XX-S), you'll need to locate the spline within the cable. The spline is an additional separator inside the cable that helps maintain the integrity of the twisted pairs. In this case, carefully cut off the spline using wire cutters before proceeding with the termination process.
-
Arrange the Wires: Once the jacket is stripped, carefully untwist the twisted pairs while maintaining their integrity. Take your time to ensure the wires remain organized and undamaged during this process.
Step 2: Untwist and Arrange Pairs
Next, arrange the pairs according to the T568B or T568A wiring standard. Both standards are widely used and compatible with most Ethernet applications. Make sure to follow the same standard consistently throughout the termination process for best results.
- T568B Wiring Standard: Arrange the wires in the following order from left to right: Orange/White, Orange, Green/White, Blue, Blue/White, Green, Brown/White, Brown.
- T568A Wiring Standard: Arrange the wires in the following order from left to right: Green/White, Green, Orange/White, Blue, Blue/White, Orange, Brown/White, Brown.
Step 3: Insert Wires into EZ-RJ45 Plug
Insert the prepared wires into the EZ-RJ45 plug, making sure each wire goes into its designated slot. The transparent design of EZ-RJ45 plugs allows for easy visual confirmation, ensuring accurate placement. You will push the wires all the way through so some of the cable jacket enters the RJ45 plug.
Step 4: Crimp the Plug
Once all wires are inserted, use a crimping tool to secure the plug. Apply firm and even pressure to ensure a snug fit. Once the tool is pressed the excess wire in the front of the RJ45 should be snipped off. If there is any remaining you can press it again.
Step 5: Optional Labeling
For organizational purposes, consider labeling the terminated end of the cable. Use a marker to label each end with relevant information such as location, connection type, or any other details for future reference.
Conclusion:
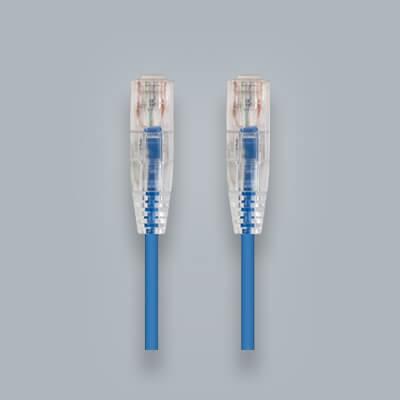
Terminating Cat6 riser cable with EZ-RJ45 plugs is a breeze with our simple guide. Whether you're using cables with or without a spline, you can achieve reliable and high-performance network connections in no time. Say goodbye to complexity and hello to seamless networking!