
Connecting a Network-Attached Storage (NAS) Device to a Router or Switch
Network-Attached Storage (NAS) devices are a convenient solution for storing and accessing data across a network. Whether for personal or business use, connecting a NAS to your router or switch enables seamless access to files, media, and backups from multiple devices. In this guide, we'll explore the steps to properly connect a NAS device to your network for efficient data management and sharing.
Understanding NAS
Before diving into the setup process, let's briefly understand what a NAS device is and how it functions:
- Definition: A NAS device is a specialized file server that connects to a network, providing centralized storage accessible to multiple users and devices.
- Features: NAS devices often include features such as RAID (Redundant Array of Independent Disks) for data redundancy, file sharing protocols (e.g., SMB, NFS), remote access capabilities, and data backup functionality.
- Use Cases: NAS devices are commonly used for file sharing, media streaming, data backup, and hosting personal cloud services.
Choosing the Right NAS Device
Before purchasing a NAS device, consider factors such as storage capacity, number of drive bays, performance requirements, and budget.
Popular NAS brands include Synology, QNAP, Western Digital, and Buffalo.
Steps to Connect a NAS Device to a Router or Switch
Follow these steps to connect your NAS device to your network:
-
Choose Location: Select a suitable location for your NAS device, preferably near your router or switch and in a well-ventilated area.
-
Hardware Setup:
- Insert Hard Drives: If your NAS device requires hard drives, insert them into the drive bays following the manufacturer's instructions. Configure RAID if desired.
- Connect Power: Plug in the power adapter to your NAS device and connect it to a power outlet.
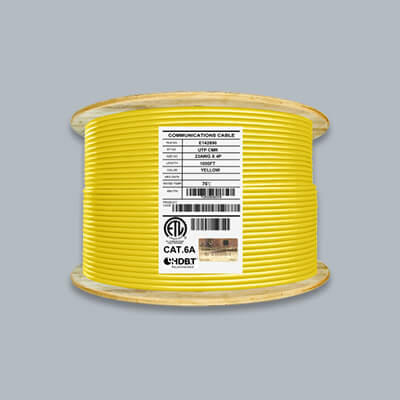
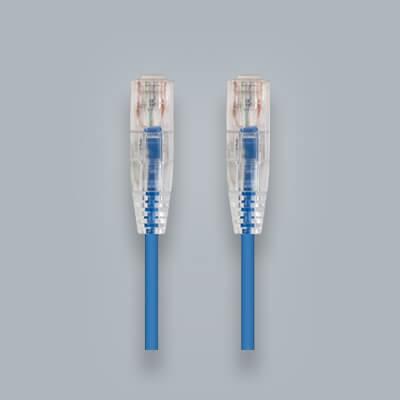
- Connect to Router or Switch: Use an Ethernet cable patch cable to connect the LAN port on your NAS device to an available Ethernet port on your router or switch.
-
Network Configuration:
- Obtain IP Address: Most NAS devices support DHCP and will automatically obtain an IP address from your router. Alternatively, you can assign a static IP address for better control.
- Access Web Interface: Use a web browser to access the web interface of your NAS device by entering its IP address in the address bar.
-
Initial Setup:
- Follow Setup Wizard: Many NAS devices include a setup wizard to guide you through the initial configuration process. Follow the prompts to set up user accounts, shared folders, and other settings.
- Update Firmware: Check for firmware updates and install them to ensure your NAS device has the latest features and security patches.
-
Data Transfer and Management:
- Create Shared Folders: Organize your data by creating shared folders for different types of files, such as documents, photos, videos, and music.
- Transfer Data: Copy files from your computer to the NAS device using file explorer or dedicated NAS management software.
- Set Up Backup: Configure backup jobs to automatically back up critical data from your computers to the NAS device.
-
Accessing NAS from Devices:
- Mapping Network Drive (Windows): Use the "Map Network Drive" feature in File Explorer to assign a drive letter to the shared folders on your NAS device.
- Connecting on macOS: Use the "Connect to Server" option in Finder to access shared folders by entering the NAS device's IP address or hostname.
- Mobile Access: Install NAS apps on your mobile devices to access files, stream media, and perform backups remotely.
Conclusion
Connecting a NAS device to your router or switch enhances your network's storage capabilities, enabling centralized data management and sharing. By following the steps outlined in this guide, you can set up and configure your NAS device efficiently, empowering you to access your files from anywhere on your network.
Disclaimer
While this guide covers the basic setup process for connecting a NAS device to a router or switch, individual NAS models may have specific configuration requirements. Always refer to the manufacturer's documentation for detailed instructions tailored to your device.
Happy Data Management!